Cleaning an aquarium filter the wrong way — scrubbing media under the tap, replacing everything at once — can wipe out the beneficial bacteria that keep your tank safe, triggering a mini ammonia spike. Done right, it’s simple: rinse media gently in old tank water, never chlorinated tap water, and only clean part of the biological media at a time. Here’s the honest, step-by-step process for canister, hang-on-back (HOB) and sponge filters.
What you’ll need
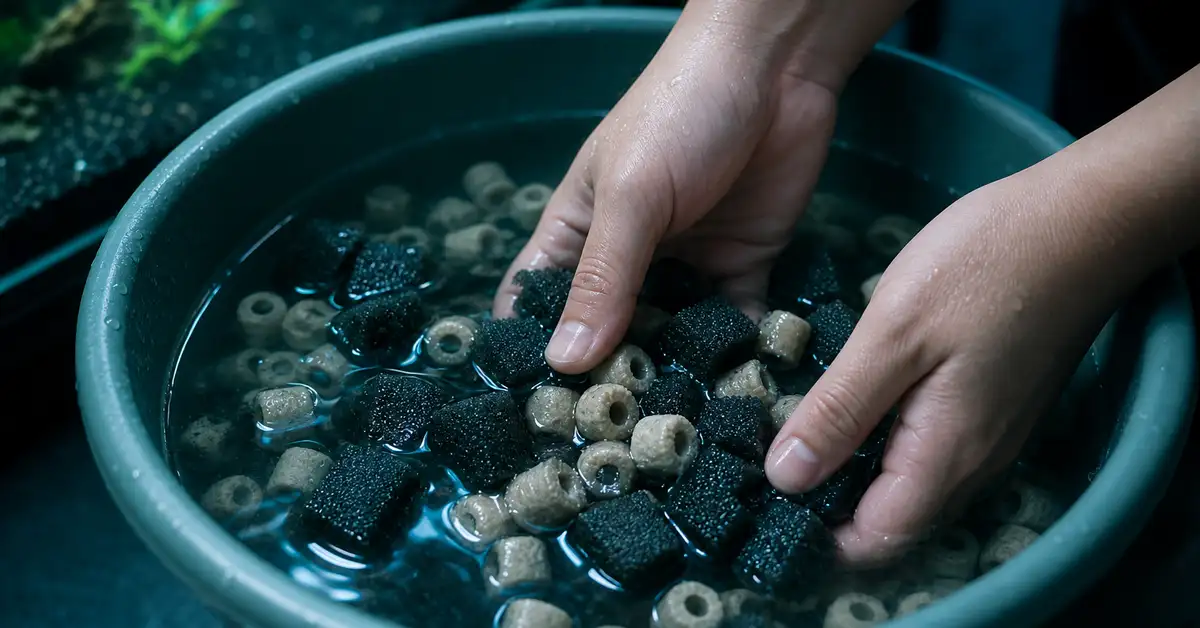
A clean bucket filled with water siphoned from your own tank during a water change (this is your rinse water — never use fresh tap water), a soft brush or an old toothbrush for the impeller and housing, a spare bucket for discarded gunk water, and replacement mechanical media (filter floss or pads) if yours look worn out. If you haven’t settled on a filter yet, see our guides to the best aquarium filters, best canister filters and best sponge filters.
How often to clean each filter type
Frequency depends on filter type and bioload, not a fixed calendar date — clean when flow visibly slows or media looks clogged, and use these as a starting point. HOB filters typically need attention every 2–4 weeks, since their mechanical media (floss/cartridges) traps debris fast. Canister filters hold far more media and can usually go 4–8 weeks between cleanings, sometimes longer, because their larger volume dilutes the mechanical clogging. Sponge filters should be squeezed out roughly once a month, or as soon as you notice reduced bubble output from the air pump, whichever comes first. In every case, clean sooner if flow has noticeably dropped — that’s a better signal than the calendar.
1. Gather your supplies before you start
Fill a clean bucket with a few gallons of water siphoned straight from your aquarium — ideally during a scheduled water change, so you’re not wasting extra water. This is the only water your filter media should ever touch. Set out a soft brush or an old (unused-for-anything-else) toothbrush for scrubbing the housing and impeller, a second bucket or container for discarded debris water, and any replacement mechanical media you plan to swap in. Unplug nothing yet — this step is just staging.
2. Turn off and unplug the filter
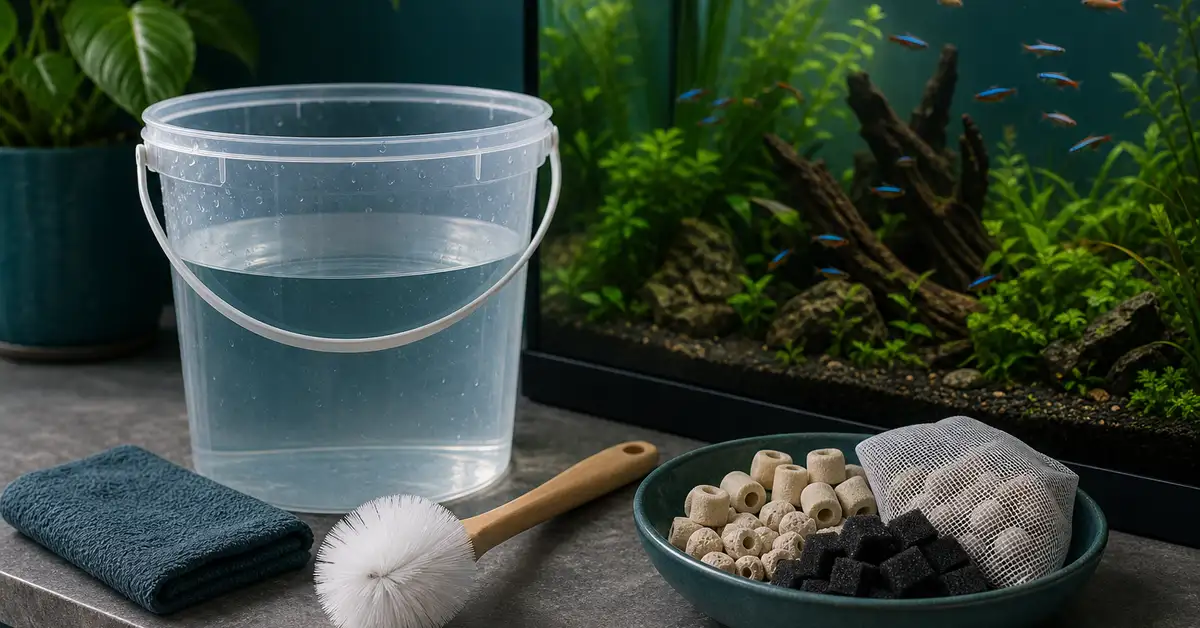
Switch off and unplug the filter (and, for canisters, close the intake and output shut-off valves on the hoses) before touching anything. This prevents the pump from running dry or splashing water where it shouldn’t, and it’s a basic electrical-safety step around a plugged-in appliance near water. For canister filters, most manufacturers also recommend bleeding off pressure by opening a priming valve before disconnecting hoses.
3. Disassemble and remove the media
For a HOB filter, lift it off the tank rim and slide out the cartridge or media basket. For a canister filter, disconnect the hoses at the quick-disconnect fittings, carry the canister to a sink or bucket, and open it to lift out the media trays or baskets one at a time — canisters typically stack several media types (mechanical, biological, chemical) in sequence, and it helps to note the order before you pull them out. For a sponge filter, the simplest approach is to submerge a plastic bag in the tank, guide the sponge into it while both are still underwater, then lift the bagged sponge out — this traps the released gunk instead of clouding your tank.
4. Rinse media in old tank water — never tap water
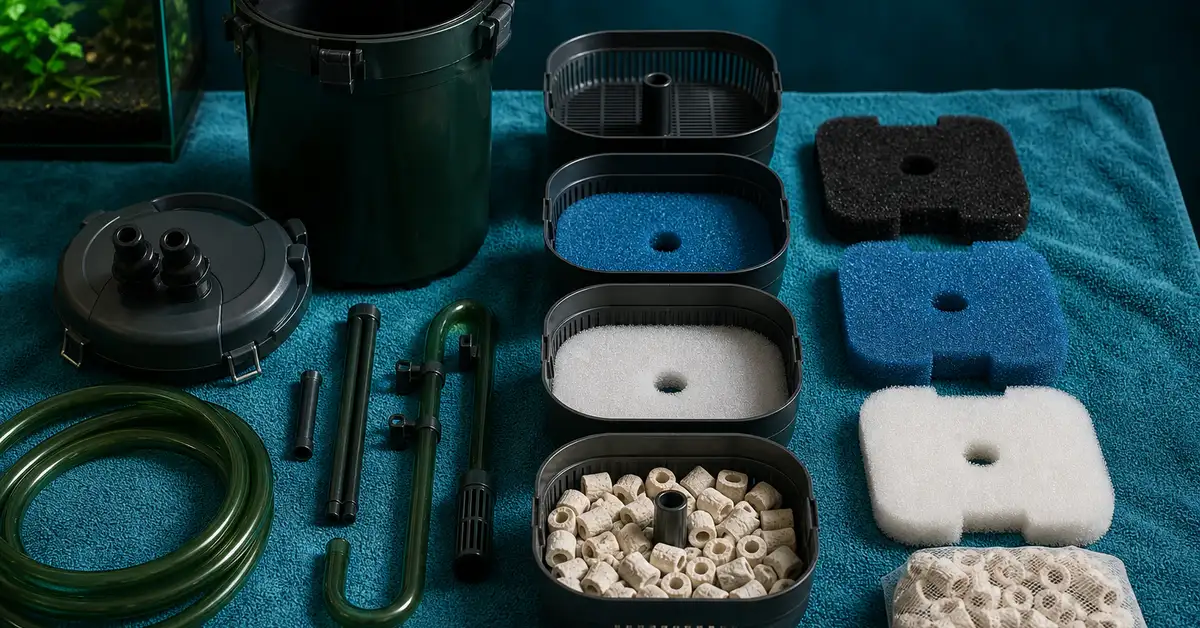
This is the step that actually protects your cycle. Swish mechanical media (floss, pads, foam) in the bucket of tank water until the rinse water runs mostly clear, squeezing sponges repeatedly and changing to fresh tank water partway through if it gets too dirty to see progress. For biological media — ceramic rings, bio-balls, porous sponge — be gentler still: swirl it in the tank water just enough to knock loose heavy debris, without scrubbing, since the beneficial bacteria live in a thin biofilm on the surface and scrubbing strips it off. Never rinse any of this under the tap: chlorine and chloramine in tap water are specifically there to kill bacteria, and they don’t distinguish between the bacteria in your pipes and the ones keeping your tank’s nitrogen cycle running.
5. Clean the impeller, tubing and housing
Debris and mineral buildup on the impeller (the small spinning propeller that drives water flow) is a common, overlooked cause of a filter running slower or louder over time. Pull the impeller assembly per your manufacturer’s instructions, wipe it and its housing with your soft brush and tank water, and check the impeller shaft and magnet for cracks or wear. Run the brush through intake tubing and spray bars to clear any slime buildup. Use water only here — never soap or detergent, since even trace residue is toxic to fish.
6. Reassemble and restart
Put media back in its original order and orientation (this matters most for canisters, where mechanical media needs to sit ahead of biological media in the flow path), reconnect hoses and open any shut-off valves, then prime and restart per the manufacturer’s instructions. Watch it run for a few minutes to confirm normal flow and check every seal and connection for leaks before walking away.
7. Monitor water parameters for a few days
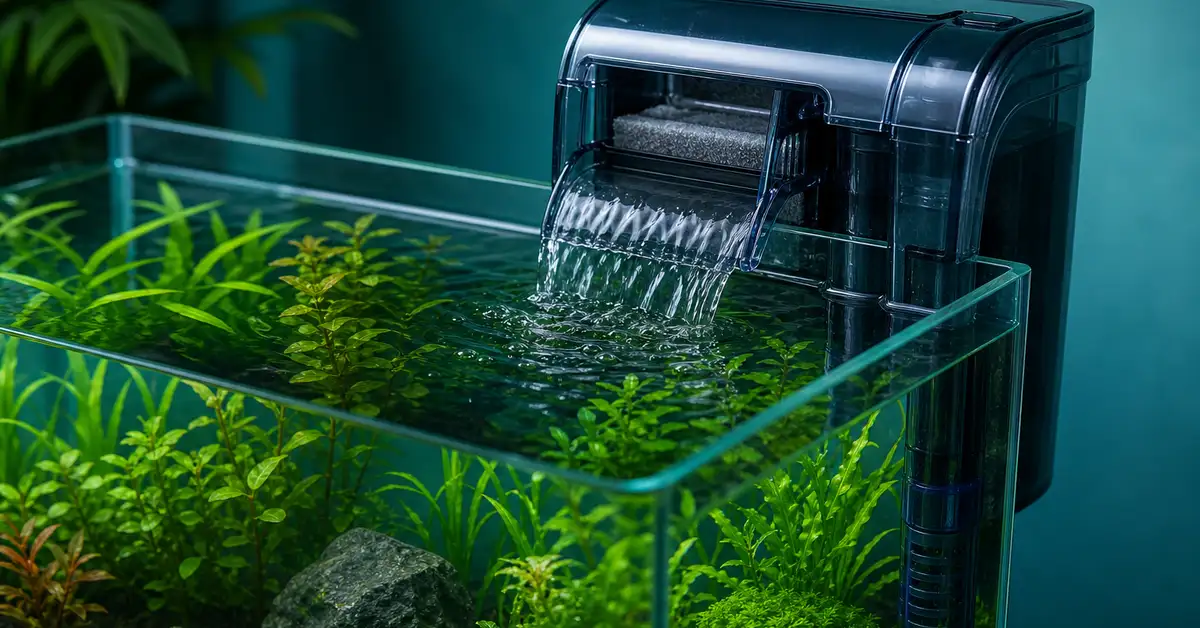
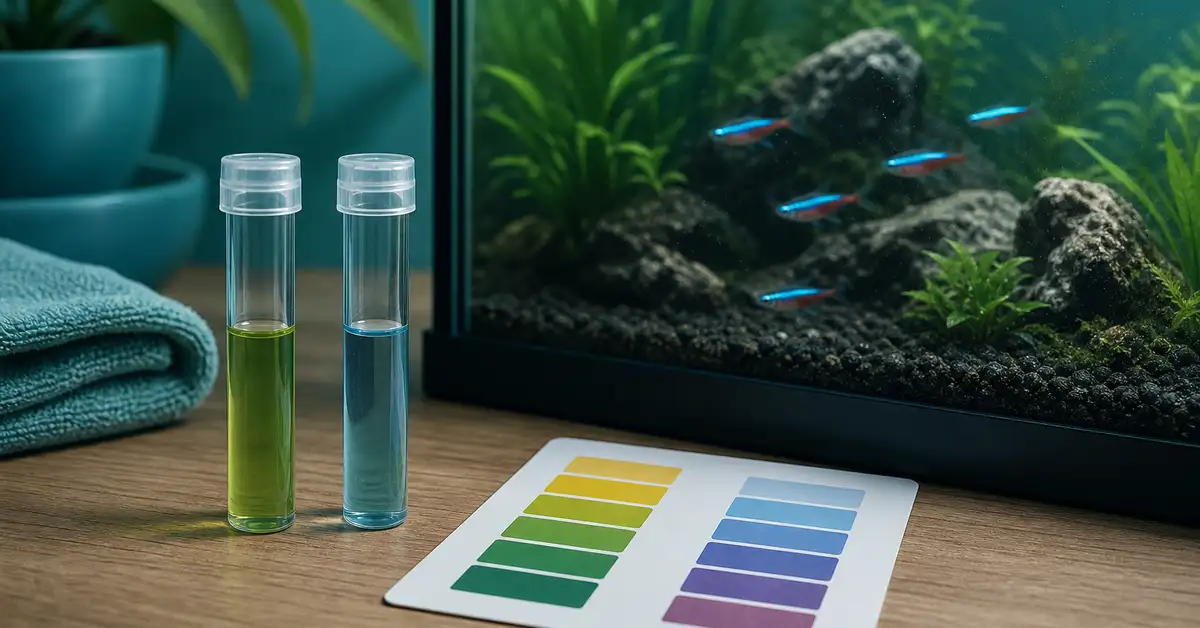
Even a gentle cleaning removes some bacteria, so test ammonia and nitrite for the next few days, especially after a more thorough canister service. A small, temporary uptick that clears within a day or two is normal; a sustained rise means the colony took a bigger hit than expected and you should hold off on feeding heavily or adding new fish until readings return to zero. See our water parameters reference for what to test for and what the numbers mean, and our fishless cycling guide if you need a refresher on how the nitrogen cycle works.
Common cleaning mistakes to avoid
- Rinsing media under the tap. Tap water’s chlorine or chloramine is specifically designed to kill bacteria — it will kill your beneficial colony just as effectively as it kills pipe bacteria.
- Replacing all the media at once. If biological media is due for replacement, swap roughly a third at a time, waiting at least four weeks between batches so the remaining bacteria have time to colonize the new media.
- Scrubbing biological media aggressively. A gentle swirl in tank water is enough — hard scrubbing strips away the biofilm where bacteria actually live.
- Cleaning everything on the same day as a big water change. Stacking two disruptive events at once increases the risk of a temporary ammonia or nitrite spike; stagger them where you can.
- Using soap or detergent on any part. Even a trace residue left on housing or tubing is toxic to fish — water and a soft brush are enough.
Frequently Asked Questions
General information only — not veterinary advice. If your fish show signs of stress or illness after a filter cleaning, consult an aquatic veterinarian.
Sources: Aquarium Co-Op: How to Clean Aquarium Filters · Aquarium Co-Op: How Do I Clean a Filter Without Killing Bacteria? · DBC Aquatics: Aquarium Filter Cleaning Instructions · Practical Fishkeeping: How Often Should I Clean My Aquarium Filter? · Honest Aquarium: How to Cycle a Fish Tank