Aquascaping is the design part of a planted tank — where the hardscape sits, how the substrate slopes, and which plants go where before you ever add a fish. Get the order right (hardscape before final planting, plants before water, water before fish) and you avoid the two mistakes that sink most first attempts: blasting a carefully-built layout apart the moment you fill the tank, and adding fish to a tank that only looks ready. This is the honest, step-by-step version, including the two things most guides skip entirely — your scape will look worse at week two than it did on day one, and that’s normal, not a failure.
Plan your layout before you touch a single rock
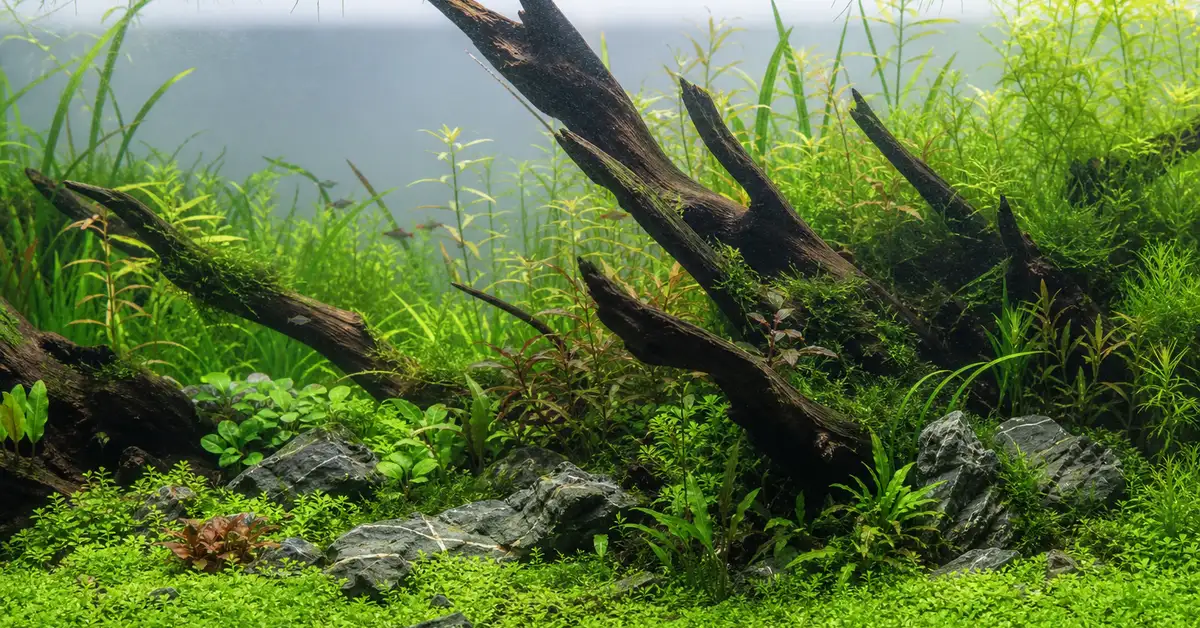
Every good aquascape starts on paper, not in the tank. Sketch a rough side view and pick one focal point — a striking piece of driftwood, an unusual rock, or a dense plant mass — rather than trying to make everything equally important. A genuinely useful heuristic here is the rule of thirds: mentally divide the tank into a 3×3 grid and place your focal point near one of the four intersections instead of dead center. In the Iwagumi stone-only style, the primary stone is traditionally placed at roughly two-thirds of its own height along one of these lines — aquascapers sometimes call this the golden ratio, and Takashi Amano’s Nature Aquarium style, which popularized planted aquascaping in the West, leans on the same idea. Be clear-eyed about what this actually is: a compositional heuristic borrowed from photography and design, not a law of physics or biology. It works because off-center placement reads as more natural to the human eye than perfect symmetry — nothing more mystical than that, and no plant grows better for sitting on a grid line.
Pick a broad style so your plant and hardscape choices aren’t fighting each other
You don’t need to commit to a competition-grade layout, but knowing roughly which direction you’re headed avoids buying hardscape and plants that pull against each other. The Nature Aquarium style (driftwood and stone arranged to suggest a landscape — a mountain range, a forest floor, a valley) is the most forgiving for a first attempt and the most flexible on plant choice. Iwagumi uses only stone, in odd-numbered groupings, with just one to three low-growing carpet plant species — striking, but genuinely less forgiving, since there’s no plant mass to hide a wobbly rock arrangement or an early algae problem. The Dutch style skips hardscape almost entirely and builds depth purely from dense, contrasting rows of plants — it rewards someone who already knows a reasonable number of plant species by sight. For a first tank, Nature Aquarium’s tolerance for imperfection and its use of the plants in our beginner plants guide and low-light plants guide is the easiest honest recommendation.
What you’ll need before you start
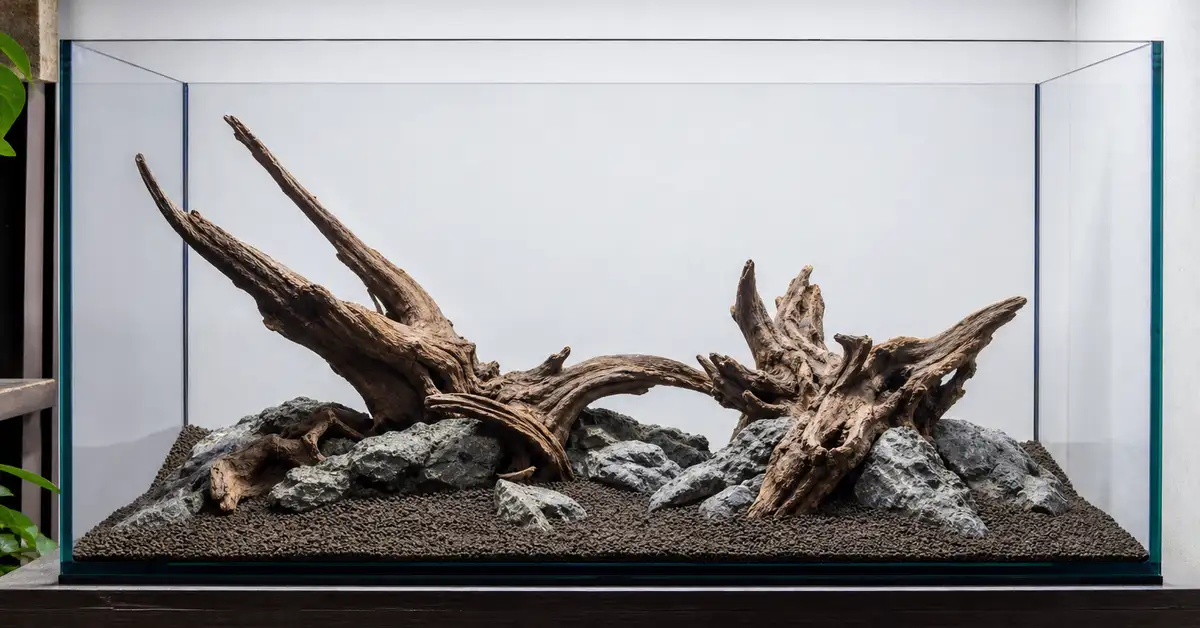
Beyond the tank, filter, heater and light you’d need for any setup, aquascaping specifically calls for: a nutrient-capable planted substrate (see our substrate guide for aquasoil vs. capped-sand options), your chosen hardscape (driftwood and/or rock, rinsed and, for most driftwood, pre-soaked or boiled to sink it and leach out tannins), and your plant list split by placement — background and midground picks from our beginner plants guide, and lower-light foreground or carpet options from our low-light plants guide if your tank isn’t running high light. Root tabs or a liquid fertilizer (see our fertilizer guide) are worth having on hand if you’re planting heavily from day one, though most low-tech beginner setups don’t need them immediately. You do not need injected CO2 to aquascape well — see our CO2 systems guide only if you’ve already decided you’re going high-tech.
The 10 steps, in order
1. Sketch your layout and pick one focal point
Before buying anything, rough out a side-view sketch of your tank with your chosen focal point placed off-center, using the rule-of-thirds framing above as a starting point rather than a rule you have to satisfy exactly. Decide roughly which broad style you’re aiming for (Nature Aquarium, Iwagumi, or Dutch) so your hardscape and plant shopping list actually work together instead of fighting each other in the tank.
2. Lay a thin base layer of substrate, then dry-fit your hardscape on top
With the tank empty and dry (or with just an inch of substrate down), place your rinsed driftwood and rock roughly where your sketch calls for and step back — genuinely step back, not just lean over the rim. A layout that looks right from directly above the tank often looks flat or crowded from normal viewing height. Adjust now, while nothing is wet or planted. See our substrate guide for aquasoil vs. gravel vs. sand if you haven’t chosen one yet.
3. Build up and slope the substrate around your hardscape
Once you’re happy with the hardscape’s position, mound and slope the substrate around and behind it — higher at the back, lower toward the front glass. This does two jobs at once: it locks your hardscape in place so it can’t shift later, and it creates the visual depth that makes a scape look bigger than the tank actually is. A slope of roughly two to four inches from front to back is a reasonable starting point for a standard-depth tank.
4. Position background and midground plants first
Plant tall background species and midground pieces before you touch the foreground — working this way means you’re not reaching over finished foreground planting and disturbing it. Root-feeders go into the substrate near their eventual root zone; epiphytes like Java Fern and Anubias (see our beginner plants guide) get tied or glued to the hardscape itself rather than buried, since burying their rhizome causes them to rot rather than grow.
5. Plant your foreground last, working front to back
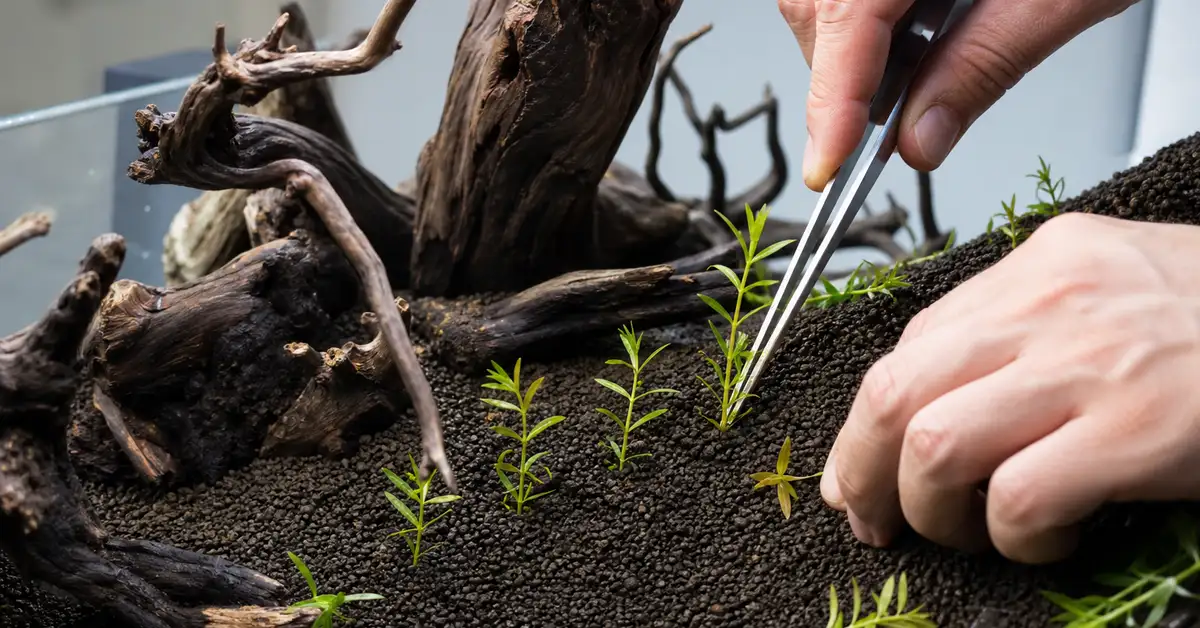
Finish with foreground and carpet plants closest to the glass, planting from front to back so you’re not kneeling on or reaching across the areas you’ve already finished. If you’re not running high light or CO2, see our low-light plants guide for carpet and foreground options that don’t demand a high-tech setup to establish.
6. Fill the tank slowly, without blasting your layout apart
Never pour water directly onto bare substrate or a fresh planting — the stream will excavate your slope and uproot plants in seconds. Place a plate, a clean saucer, or a folded plastic bag on the substrate and pour onto that, or run the fill hose into a bag floating on the surface, so the water disperses gently instead of digging a crater. Fill slowly, in stages if needed, checking after the first few inches that nothing has shifted.
7. Dose root tabs or start light liquid fertilizing, if you’re planting heavily
If you’ve planted a lot of root-feeding species into inert substrate (gravel or sand rather than a nutrient-rich aquasoil), push root tabs in near their base now. Water-column feeders benefit from light liquid dosing from early on too — see our fertilizer guide for dosing that won’t overshoot what a new, unstable tank can handle. Many beginner low-tech setups genuinely don’t need fertilizer in the first weeks; don’t dose just because a bottle is on the shelf.
8. Decide on CO2 now, if you’re going high-tech — otherwise skip this step
If your plant list or light intensity calls for injected CO2, this is the point to install it, running conservatively at first. If you’re not sure, don’t add it yet — every plant in our beginner plants guide grows without it, and adding CO2 to a tank that doesn’t need it is a real, avoidable risk to fish for a growth benefit you may not be chasing. See our CO2 systems guide for how to do it safely if and when you do. Still deciding between the two approaches? Our low-tech vs high-tech comparison walks through the cost, weekly time and CO2 safety tradeoffs in full.
9. Run your light conservatively for the first two weeks
Keep the photoperiod short — roughly six to seven hours a day — and don’t run full intensity from day one even if your fixture supports it. A new tank has no established plant mass and no mature microbial community to compete with algae for light and nutrients, so blasting full-strength lighting from the start mostly feeds algae, not your plants. You can raise both duration and intensity gradually once growth is visibly underway.
10. Test before adding fish — a planted tank is not automatically a cycled tank
This is the step most beginners skip, and it’s the one that matters most. A freshly planted, freshly filled tank has not developed the beneficial bacteria colony that makes it safe for fish, regardless of how settled or established it looks — and nutrient-rich planted substrates can actively leach ammonia during their first weeks, which is a real hazard to fish in an uncycled tank. Follow our how to cycle a fish tank guide in full and confirm 0 ppm ammonia, 0 ppm nitrite and measurable nitrate on your own test kit before stocking anything — not because the plants look happy, but because the water chemistry says so. Our water parameters reference covers the safe ranges once you get there.
Why your scape looks worse at week two than day one
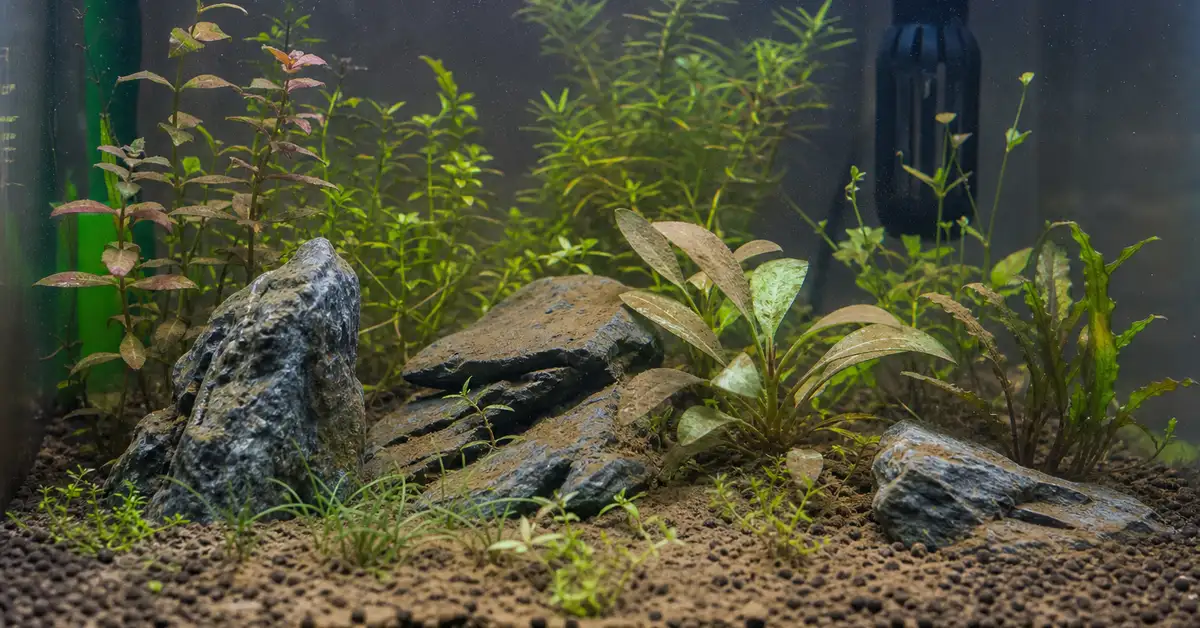
This is the part almost every beginner guide skips, and it’s why so many new aquascapers panic and start ripping plants out in week two. Two separate, unrelated processes both peak in the first few weeks, and together they can make a freshly-planted tank look like it’s failing when it’s actually right on schedule.
The melt phase. Most aquarium plants are farmed emersed — grown above water with only their roots wet — because it’s faster and cheaper for the nursery and the plants ship better. Emersed-grown leaves are physically built for air, not water, and cannot photosynthesize efficiently once submerged. The plant responds by shedding those old leaves and redirecting energy into growing new, genuinely aquatic ones from its roots and crown — and the shedding looks exactly like the plant dying, browning and going translucent before it detaches. It usually isn’t dying. Trim off badly melting leaves to stop the plant wasting resources trying to save them, resist the urge to replant or move anything while it’s happening (disturbing roots resets the establishment clock), and give it a genuine two to four weeks before you conclude a plant has failed.
The diatom bloom. Separately, a dusty, flour-like brown film often appears on glass, substrate and older leaves within the first two to three weeks — this is a diatom bloom, not dirty water or a sign anything is wrong with your tap water. Diatoms are opportunists that colonize bare, freshly-flooded surfaces before your tank’s beneficial microbial community has had time to establish and keep them in check; newly-transitioning plant leaves shedding waste compounds during the melt phase can make it worse in exactly the areas already going through melt. It typically peaks around two to three weeks and fades on its own as plants and bacteria mature — large water changes, manual removal with a soft cloth or old toothbrush, and patience do more good than any chemical fix, and most fish-safe algae eaters (otocinclus, amano shrimp, nerite snails) do best added once the tank is already a month or so old, not as a shortcut to skip this stage.
Common aquascaping mistakes for beginners
- Pouring water straight onto the substrate. Even a gentle-looking stream from a jug will crater a fresh layout in seconds; always disperse the flow across a plate or floating bag.
- Panicking and uprooting a melting plant. Melt is usually the emersed-to-submersed transition, not death — moving or replanting during it restarts the plant’s establishment clock and makes recovery slower, not faster.
- Running full light and CO2 from day one “to speed things up.” A new tank has no plant mass or bacterial community to use those resources yet; the main beneficiary is algae.
- Treating a lush-looking planted tank as proof it’s cycled. Plants and a cycled biological filter are two different things. Test before adding fish, every time, regardless of how established the tank looks.
- Overbuying hardscape “to be safe.” A crowded layout with no negative space to rest the eye almost always reads worse than a simpler one with one clear focal point.
Frequently Asked Questions
General information only, not veterinary or aquatic-health advice — if you have concerns about a specific animal’s health or a tank that already looks like it’s in distress, consult an aquatic veterinarian rather than waiting on a forum reply.
Sources: Aquascaping Love: Aquascaping Styles — Nature Aquarium, Iwagumi, Dutch Aquarium · Buce Plant: How to Prevent Aquarium Plant Melt · The 2Hr Aquarist: Brown Algae in a New Fish Tank — What Causes Diatoms · Aquarium Co-Op: How to Get Rid of Brown Diatom Algae